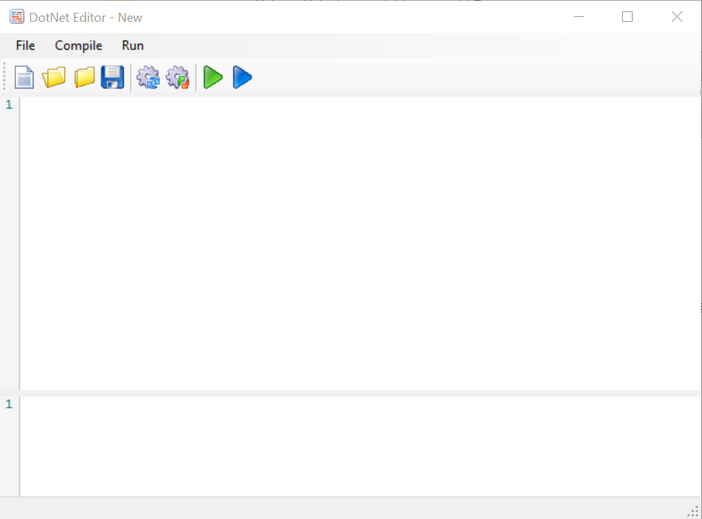
DotNet Editor
Overview
The DotNet Editor is an application to edit and compile simple .Net executables or class libraries without installing Visual Studio or something like Sharp Develop.
The program is nice to use when you don't have Visual Studio or Sharp Develop installed and you want to create some custom .Net functionality which is callable as an executable or used by an application that can call .Net DLL functions/methods and/or also instantiate the DLL as a COM object from older scripting engines such as VBScript, VBA or VB5/VB6.
Download Link
setup-DotNetEditor.exe
Installation and Usage
Download and run the installer to install the .Net Editor from the above link.
The editor requires .Net 2.0, 3.5 and 4.5.2.
After installation, run the program from the DotNet Editor shortcut or run if by locating and running the following exe via Start/Run:
C:\Program Files (x86)\rs\DotNetEditor\DotNetEditor.exe
Using the Editor to Edit, Compile and Test Code


Toolbar Icons
![]() New script
New script
![]() Open script
Open script
![]() Close script
Close script
![]() Save script
Save script
![]() Compile script to Exe (F8)
Compile script to Exe (F8)
![]() Compile script to Dll (F9)
Compile script to Dll (F9)
![]() Compile script to Exe and Run the program (F5)
Compile script to Exe and Run the program (F5)
![]() Compile script to Exe and Run the program with parameter prompts (Shift-F5)
Compile script to Exe and Run the program with parameter prompts (Shift-F5)
File Menu
New
Create a new script. Save with a .CS or .VB extension if using CSharp or VB for your executable or DLL class library.
Open
Open an existing CS or VB script.
Close
Close current script.
Save
Save current script.
Settings
Edit application configuration file. After saving settings, restart application for new settings to take effect.
Exit
Exit program
Compile Menu
Build Exe (F8 key)
This option creates a .Net console application executable.
Build Class Library Dll (F9 key)
This option creates a .Net DLL assembly
Run Menu
Run (F5 key)
Compile and run current script as a console application executable with no parameters. Only use this option to test EXE files that are console applications and do not require parameter entry.
Run with Parms (Shift-F5 key)
Compile and run current script as a console application executable and also prompt for command line parameters. Only use this option to test EXE files that are console applications that require parameter entry.
Application Creation Concepts
See the code sample files in the following location: C:\Program Files (x86)\rs\DotNetEditor\code
For each program script file there should also be an ScriptFilePrefix-AssemblyInfo.vb or ScriptFilePrefix-AssemblyInfo.cs file created to hold versioning information.
Examples from the code directory
Executable Assemblies
Hello1AppVb.vb should have a version file named: Hello1App-AssemblyInfo.vb created in the same directory if you want version info created with your assemblies.
Hello1AppCs.cs should have a version file named: Hello1AppCs-AssemblyInfo.cs created in the same directory if you want version info created with your assemblies.
Class LIbrary Dll Assemblies
Hello1ClassLibraryVb.vb should have a version file named: Hello1ClassLibraryVb-AssemblyInfo.vb created in the same directory if you want version info created with your assemblies.
Hello1ClassLibraryCs.cs should have a version file named: Hello1ClassLibraryCs-AssemblyInfo.cs created in the same directory if you want version info created with your assemblies.
Settings in the Application Settings File
AppTitle - Application title
OutputFileType - UTF8 or ASCII
VBCompiler - VB compiler command line
CSCompiler - CS compiler command line
VBCompilerParmsExe - VB compiler parameters when generating an executable
CSCompilerParmsExe - CS compiler parameters when generating an executable
VBCompilerParmsDll - VB compiler parameters when generating a .Net DLL assembly
CSCompilerParmsDll - CS compiler parameters when generating a .Net DLL assembly
DotNetFrameWork - .Net framework directory
RegAsmParms - Parms used register DLL as a COM object after creation
DefaultCodeDir - Default code directory location when opening scripts
